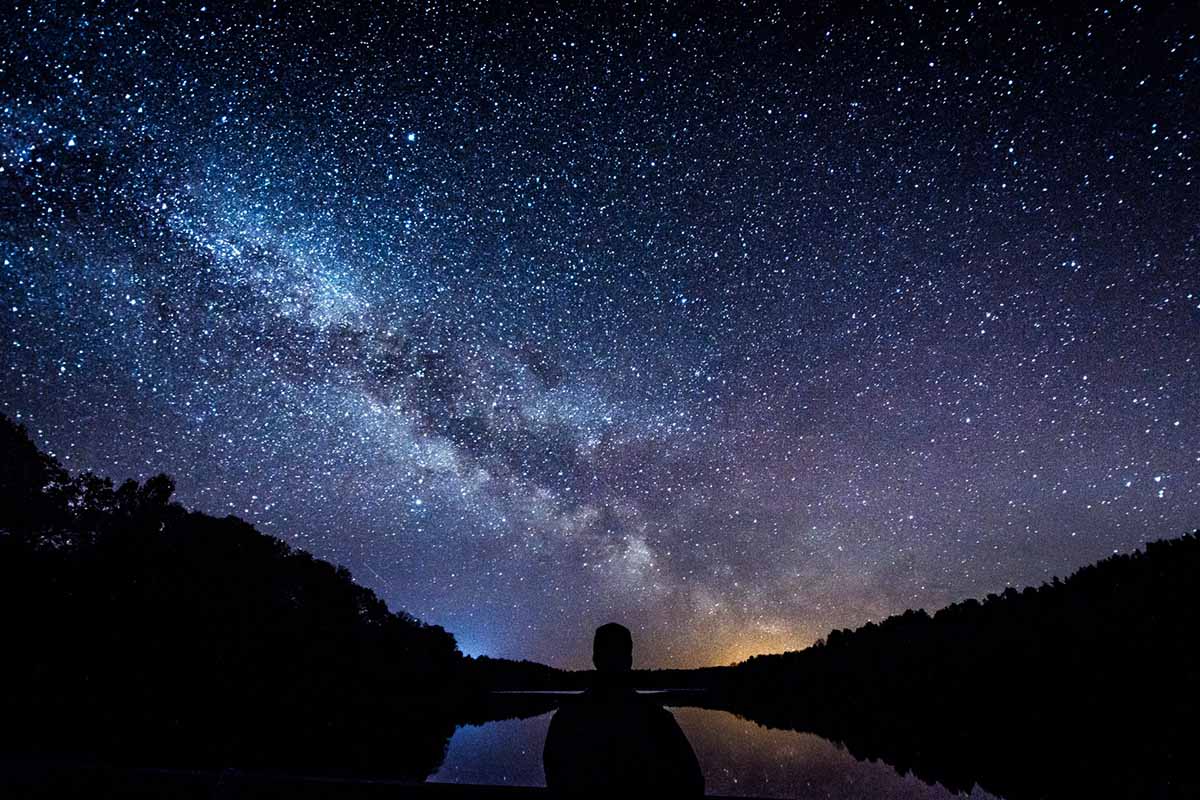
It’s no secret that Australia has some of the biggest and brightest skies. We’re home to many places that feature on the International Dark Sky Association’s list of ‘Dark Sky Places’, like the Warrumbungles near Coonabarabran (NSW).
With this in mind, it’s no wonder so many Aussies with an interest in photography will at some point turn their lens to the night sky. If you’re one of them, you may be considering obtaining a good telescope for beginner astrophotography and looking into how to use a telescope for astrophotography.
While lenses, mirrorless cameras, and DSLR cameras do a fantastic job at taking photos of galaxies, telescopes are custom-made to view all the nuances of the night sky, so they should be considered when piecing together your astrophotography kit. Here are some tips on telescope photography to get you started.
Choosing the best telescope for astrophotography
When it comes to exploring product listings for your first astronomy telescope, there’ll likely be some new terms to wrap your head around. Here is a glossary of the key telescope terms:
- Reflector telescopes. A good beginner astrophotography telescope and one of two main types of telescope designs, reflector telescopes utilise a mirror-based system and are known for being great value for money.
- Refractor telescopes. These telescopes are the best choice for those who want to view and photograph deep space objects. Refractor telescopes use a series of large lenses to function and are often more expensive than reflector telescopes.

- Aperture. Just like in photography, the aperture of an astronomy telescope refers to the size of the opening responsible for gathering light. The larger the aperture, the better the telescope is at gathering light.
- Focal ratio. The ratio is the telescope’s aperture divided by its focal length. This figure tells us just how good a telescope is for astrophotography purposes, with a smaller f-number being more desirable
- Focal length. This is effectively the length of the astronomy telescope. Focal length is where light crosses on its way to the sensor to provide the sharpest focus.
- Eyepiece. In some cases, you won’t need to use the eyepiece for telescope photography. Essentially, the eyepiece is what you look through when using a telescope and it works in conjunction with the focal length of the lens to decide its magnification.

With all these new terms to consider, which is the best telescope for astrophotography? This depends on what type of astrophotography you wish to produce.
For planets, the moon, and similar objects, opt for a telescope with both a large aperture and a long focal length. To capture vast galaxies, star clusters, and other deep-sky objects, a telescope with a shorter focal length and larger aperture will work wonders.
Connecting a smartphone to a telescope for astrophotography
Many modern telescopes can be paired with your smartphone so that you can capture exactly what your telescope is seeing. Some telescopes come with a smartphone adapter for you to simply position the smartphone directly over the eyepiece of the astronomy telescope.
This approach may not yield the same results as using a larger, dedicated camera with your telescope, but it is a much simpler technique.
For something a little more advanced, consider the Unistellar EVSCOPE Reflector telescope which features a built-in sensor to capture images and send them directly to your connected smartphone.
Using a telescope with your mirrorless or DSLR camera

5 Tips on How to Use a Telescope for Astrophotography
Now that you’re all set up, here are some basic tips on how to get brilliant astrophotography results:
- Shoot with your camera set to RAW. RAW allows your camera to capture as much detail as the sensor allows, making post-production editing much easier.
- Use a slow shutter speed. For astrophotography, 15-30 seconds is recommended. Select a shutter speed within this range, or set your camera to ‘bulb mode’ and experiment to your liking.
- Always use a remote. Avoid camera shake and use a remote control to fire the shutter. If your camera features Bluetooth connectivity, you may be able to shoot remotely using a dedicated smartphone App.
- Use a high ISO. Increasing the ISO of your camera allows more light in, so you’ll be able to capture dimmer details of the night sky. Raising ISO does increase image noise, so start at ISO 800 and raise it if necessary.
- Choose your night and location carefully. For successful astrophotography endeavours, your view of the sky requires little-to-no light pollution. Check the weather before you head out, too. Cloud cover is no good for astrophotography, so save the excitement for a fine, clear night.
Now that you know how to use a telescope for astrophotography, it’s time to take your stargazing to the next level. Get yourself some gear and the sky’s your limit.


