There’s a delicate balance to strike when we travel, between capturing the incredible sights and memories of our trip and being present enough to fully experience them. As delicate as that balance is, I’m so very grateful to have my hundreds of gigabytes of travel photos.
The only problem once we’ve captured all these digital moments is, what do we do with them? The days of dusty photo albums are long gone and I think even amateurs like me are taking nicer photos, so what are the best ways to enjoy them in the long term? I’ve come up with a few ideas…
Get on Instagram like everyone else
Instagram has become so popular because it’s so easy to use, and perfectly suited to use on the go. This is part of the reason it’s the perfect way to create a visual travel journal. There’s no doubt it’s even had a significant influence on the travel industry and on the popularity of our wild places, for better or for worse.
While it seems like this platform is here to stay, the only issue with using it this way is that when you upload your memories you’re putting them in the hands of Facebook (who bought Instagram in 2012). Nobody knows what will happen to your Instagram profile in the long term, so while it can become a great record of your travel and outdoor adventure memories, make sure you keep another copy of your photos somewhere else.
By the way, make sure you give The Bushwalking Blog a follow on Instagram if you haven’t already.
Put ’em on a canvas
Why would I want to look at someone else’s art every day, when I can look at my photos and remember the incredible experiences I’ve had and the breathtaking places I’ve been?
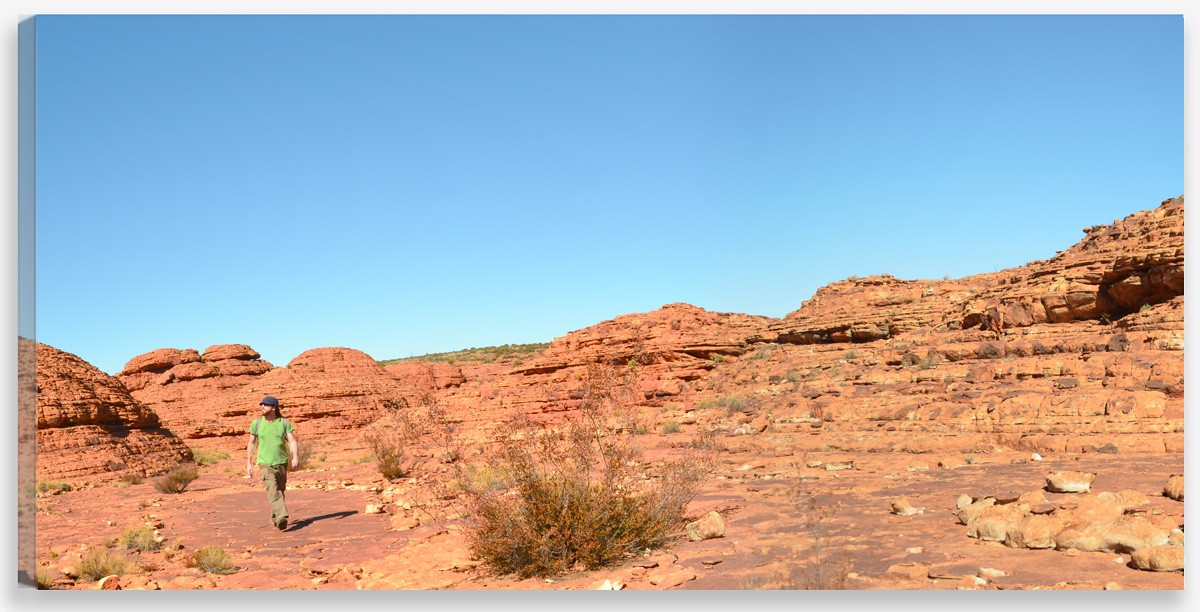
Printing a photo on a canvas is by far the nicest way to present them on your wall. They look more artistic this way than they do in a frame or just in poster format. If you’re not a fan of canvas or want something more modern looking, you can even print them on aluminium.
Get crafty
The watercolour work of art above was created from a photo with no need for painting skills. There’s a tutorial here for how to do it, but Google will provide plenty more ideas.
If you don’t want to get quite that crafty, you could just print your photos and make a collage on a pinboard.
Buy a digital photo frame
These nifty little devices have been on the market for years now, so they’re pretty affordable. Just copy your best photos onto a memory card or USB flash drive, plug it into the frame and you’ll have a permanent slideshow on your bookshelf or mantelpiece.
Start a blog
There are lots of different ways to do this and the one you choose will depend on why you’re doing it. This brilliant guide from Blog Tyrant is a good place to start learning how.
Too many people start blogging because they think they’re going to make money, though. I’m suggesting you do this as a way to capture your memories. The road to successful travel blogging is a long and hard one, so it’s not for everyone. Maybe you will end up making a few quid off your blog one day, but that’s sure as hell no reason to start one.
By the way, if this idea does strike a cord I have been known to provide consultation and technical help to budding bloggers so feel free to hit me up.
At the very least, keep them organised and backed up
It’s not that hard to be this organised really, and it pays off anytime I want to show someone a photo of a place that comes up in conversation, or when I want to reminisce about a place or experience.
My photos are precious to me, so I pay for a yearly cloud-based file hosting service called Dropbox. This means I always have a backup of my photos which is constantly updated so I don’t need to remember to run backups. The obvious alternative is to keep an external hard drive for backups but I know myself well enough to assume I won’t keep it up to date.
Even if you choose not to have your adventure photos displayed around your house, or online for the world to see, I highly recommend that you keep them as organised as I do. Not to mention making sure they’re safe from being lost to technical failure or the theft of your equipment.
If you’re not sure where to start, here’s a guide to organising your files and folders that might be helpful. Within my “Photos” folder I create a folder for each year and then within that, I create a folder for each adventure or occasion in the format YYMMDD – Adventure Name (eg. “180401 – Melville Caves”). This makes for easy searching and also for easy sorting in chronological order.
Once your photos are sorted, there are heaps of options to keep them backed-up. Here’s a pretty solid guide from the New York Times on how best to do that.
Got any other ideas on what to do with your travel photos? If you have any stories, updates or corrections, please let us know by commenting below.
Exploring the Great Ocean Road?
You won’t see the best sights from your car. Get the definitive guidebook, featuring the 25 best walks in the area with detailed instructions and maps.


